3D Work (1/3): Wooden Maquette
As I have finished posting about my 2D work, I will now be posting the process and completion of my two 3D pieces. Before I went on with the wooden maquette, I looked at some figures and toy designs that I have found when I was out. Although I do not know the exact purpose of the figures in the first image (if it is not for decoration) the difference in detail between the children's toy and figure is significant, the children's toy keeping to basic forms and shapes. Keeping this in mind, I have developed my sketches.
Samples of figures and toys that I have found
Initial Sketches
Further Development
Lightly sketched out the basic shape of the maquette onto the block.
Started whittling down the wood block.
The whittling process took too much time and effort (started feeling pain in the wrists and accidental injuries), so I got some help from a classmate in using the saw to cut large chunks of the wood.
Began whittling smaller parts of the figure.
Different parts of the figure.
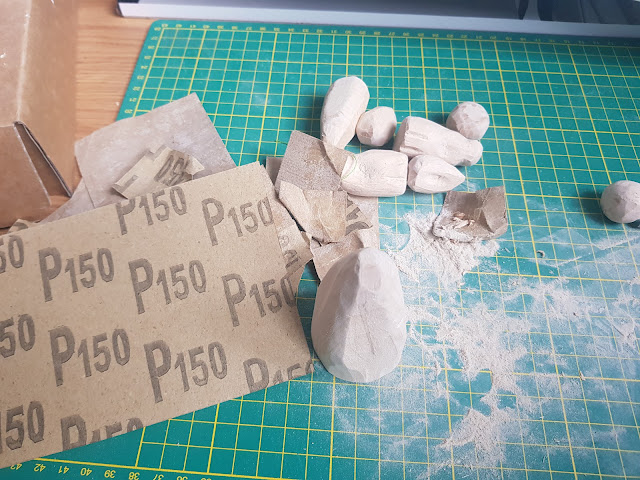
Began smoothening the figure using sandpaper, starting with a P100 grit.
Then with a P150 grit for a finer finish.
Painting on patterns on the rabbit (inspired by the Korean patterns seen in the post 'Character Design (3/3): The Sea King') using acrylics. Attached different parts of the limbs with string buried and glued into the wood.
Finished with varnish.
Below are some shots of the finished maquette. Despite have 5-6 layers of varnish, it is not very noticeable.


Comments
Post a Comment