Posts

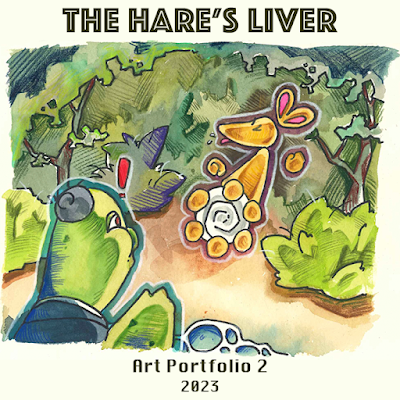
End of Term Reflection: Art Portfolio 2
Image
  As we have approached the end of this term, and by extension the time at DMUIC, I reflected on the experiences of this term. It was quite an odd time for me this term due to the lack of Art Portfolio lectures in the first week and several other bank holidays, and I feel that it had affected my work schedule. Additionally my attempt with a new material and technique (wood carving) took much longer than I intended, which in return delayed my other works. However as I now have some experience in getting a clear direction for my project, I knew what I was doing for my project. Overall I have mixed feelings about this project: the 2D project was quite successful in my opinion, it had the style and motion that I intended, but the 3D elements seemed unrefined to me. 

3D Work (3/3): Background Edit

Image
  I took the photos of the final pieces and started refining them (for better visibility and focus) on Photoshop. Below is the process. Load the photo into Photoshop. Select the rabbit using the Select-Subject option. Refine selected area with lasso tool. Copy-paste the selected area into a new layer (separated background and subject). Use Curve layer and Brightness/Contrast layer to focus more on the 3D work.  Below is the finished sample.   Using this technique, I have made mockup background into a toy advert poster of the 3D works. Below is a sample process. Fill in the background with a plain colour and outline the subject. Create some focus line effect with a lighter colour using Triangle shape tool and Line tool. Create a 'banner' using Rectangle tool (and morphing it into an arch shape using Free Transform tool). Insert text, font type Phosphate (giving a circus-like, 'fun', effect) with size 300. Morph text into the shape of the banner. Insert a catchphrase to ...

3D Work (2/3): Clay Stamp

Image
  As I was finishing my first 3D piece, I realised that I would not have enough time to finish another wooden work as even the first work (even in simple shapes) had took too much time to do. So I have changed my plans to create my last 3D work using air-drying clay which would make the process much shorter. And as this piece would be made in clay, I thought that this could be a maquette of hand stamps (like the ones in children's stamp sets, but if each stamp were to be like figurines as well). Thinking this, I have made my sketches. Figure Sketch Stamp Design  Then I started in making my clay piece, the process shown below. Build base using aluminium foil to lessen drying time. Insert wire pieces for framework of the 'spines'. Wrap the piece in masking tape to better attach the different parts and to avoid cracking (as it happened in the Skills Week figurine). Cover base in clay. Check for cracks in the figure and fill it with sand+gesso mixture. Build the 'stamp'...

3D Work (1/3): Wooden Maquette

Image
 As I have finished posting about my 2D work, I will now be posting the process and completion of my two 3D pieces. Before I went on with the wooden maquette, I looked at some figures and toy designs that I have found when I was out. Although I do not know the exact purpose of the figures in the first image (if it is not for decoration) the difference in detail between the children's toy and figure is significant, the children's toy keeping to basic forms and shapes. Keeping this in mind, I have developed my sketches. Samples of figures and toys that I have found Initial Sketches Further Development   Then I have started making the figure using blocks of basswood that I have bought on Amazon (Wood Workshop does not provide or sell wood blocks). The process is as listed below. Lightly sketched out the basic shape of the maquette onto the block. Started whittling down the wood block. The whittling process took too much time and effort (started feeling pain in the wrists and acci...